Welcome to Lnvo! We’re excited to show you what Lnvo can do to help impact your business and life. In this post we’ll explore:
- Walking Through the Account Creation Process
- Your “My Business” View & Adding a Subscription
- Adding Your Second User (included with your start-up subscription)
- What to Do Next – Business Details & Enable Payments
Setting Up Your Account
First, if you haven’t already, Get Started by signing up for a free account (that comes with a 3 day trial) on our Lnvo Sign-Up page.
On the sign-up screen you’ll be asked to input your Email, Name, and Password (please choose a password that meets our security requirements).
Note: About Password Security — We care about your security and we understand that people tend to use similar passwords. With other less secure sites there have been data breaches where those passwords are out in the wild. That’s why have stringent requirements on creating a password that’s both unique and secure. Make sure you store your password in a secure place for your reference (we recommend a password manager).
After you enter your information, click the “Create Account” button. Then, you’ll be brought to a Verification Code prompt.
Lnvo will automatically send an email to the email address you entered with the verification code. This helps ensure your email address was typed correctly.
If you didn’t receive a link on that same page click “Resend Code”. If you feel you may have incorrectly typed out your email, start the process over.
Once you do receive the email, input the code you received into the “Verification Code” prompt then click the “Verify” button.
Congratulations! You’ve successful created your account.
Logging In for the First Time – Your “My Business” View
Once you’re logged in, you’ll need to set up your subscription. This will do three things:
- Your subscription comes with a Free 3 Day Trial so you can get a good feel for the app and make sure it’s a good fit for your purpose.
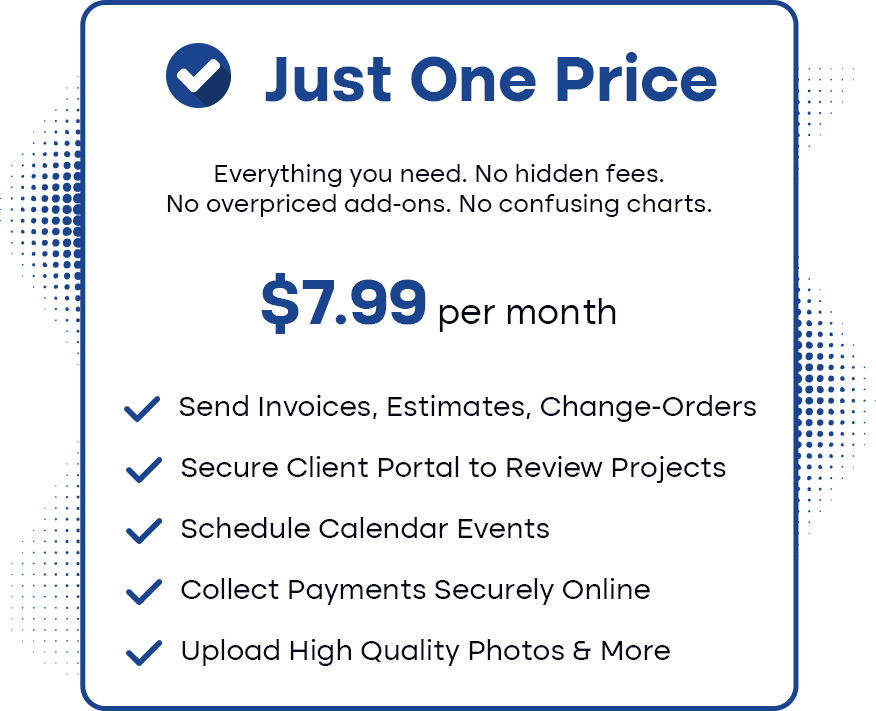
- You’ll set up your subscription for either $9.95 per month (or save 20% by paying yearly).
- You’ll immediately be granted 2 user licenses up front which we’ll also set up later as needed.
To set up your subscription choose either the “$9.95 Monthly” or “$95 Yearly” and click the appropriate button.
At our subscription page either pay by credit card or securely connect your bank details. Our payment processing is powered by Stripe which is one of the most trusted standards for online payments today.
Once you enter your details click “Start Trial”. Take note under that button you’ll see text confirming you’re starting your trial and when it ends you’ll be charged $9.95 per month on the indicated start date. You’re free to cancel anytime before that date.
How to Add a Second User
After clicking “Start Trial” and confirming your subscription, you’ll be brought back to the “My Business” page.
You’ll now see items on the menu bar are unlocked as well as the Subscription options stating your chosen plan and the billing start date.
Right underneath that you should see “1 unused license” – this is the second user that comes free of charge with setting up your first account.
To add a second user now click “+ Add Users” in the top right corner.
From there, you’ll enter the Name and Email Address of the person you wish to invite. After you do so, click “Send Invites”.
Once you do so, you’ll now see the number of users listed at the bottom of your “My Business” dashboard.
On the right hand side of each user’s name and email you’ll see their User level. Owner is whoever set up the account and has the highest privileges and control.
The new user you entered by default is listed as a “Member”. This allows them to do simple tasks like add clients, create projects, send invoices, or generate change-orders.
To increase their permissions you’ll just click the “Up Arrow” next to their user level.
If you no longer need this user, click the red “—” button next to the “Up Arrow”. This will let you disable the user. Note: You can disable and re-enable users as needed as long as you have the number of licenses required to do so.
Note: Additional users beyond your first two included are only $6.95 per month per user.
Yours to Explore – What’s Next
How you explore the app during your 3 Day Free Trial is up to you.
If you want to just go through the apps’ features and utilize the menu bar, you can start by creating a client, project, or estimate.
Plus, under the “Payments” card on your dashboard you’ll see an “Enable Payments” button. Click that to set up your Stripe account to collect online payments.
Beyond that you can click the “Edit” button at the top of your dashboard to adjust your business details or even upload your own logo by clicking the “Replace Logo” button under the Lnvo logo in the middle of your dashboard.
If your goal is to start using Lnvo right away to send invoices and collect payments, we recommend starting by entering in your business details then enabling payments through the “Enable Payments” button.
From there it’s simple to add a client, create a project, and send an invoice!


